How to Open .brd and .sch Files in KiCad
This guide explains how to open schematic (.sch) and board layout (.brd) files using KiCad, a free and open-source EDA (Electronic Design Automation) tool. Even if the original design was made using another software (e.g., Eagle or Fusion 360), KiCad supports import options and is recommended for open-hardware development.
🔧 What You Need
- KiCad 6.0 or later
- Compatible
.sch(schematic) and.brd(board) files
📦 Download KiCad from https://kicad.org
📁 Step-by-Step Instructions
1. Install KiCad
- Visit https://kicad.org/download
- Choose the version for your OS (Windows, macOS, or Linux)
- Follow installation prompts
2. Open KiCad Project Manager
- Launch KiCad
- Click “File → New Project” and choose a directory (if you don’t already have a
.kicad_profile) - Alternatively, click “File → Open Project” if you already have a KiCad project
3. Add or Import Files
If your .sch and .brd files are from Eagle or other tools, do the following:
- File → Import → Eagle Project
- Select the
.schor.brdfile - KiCad will automatically convert and create a new project folder
If the files are already in KiCad format:
- Simply place the
.schand.brdfiles in the same directory - Open the schematic using Eeschema
- Open the board using PCB Editor
OR
-
From the location where you saved the external
.brdfile, click to open.
-
In the pop-up box, click
Auto-Match Layers.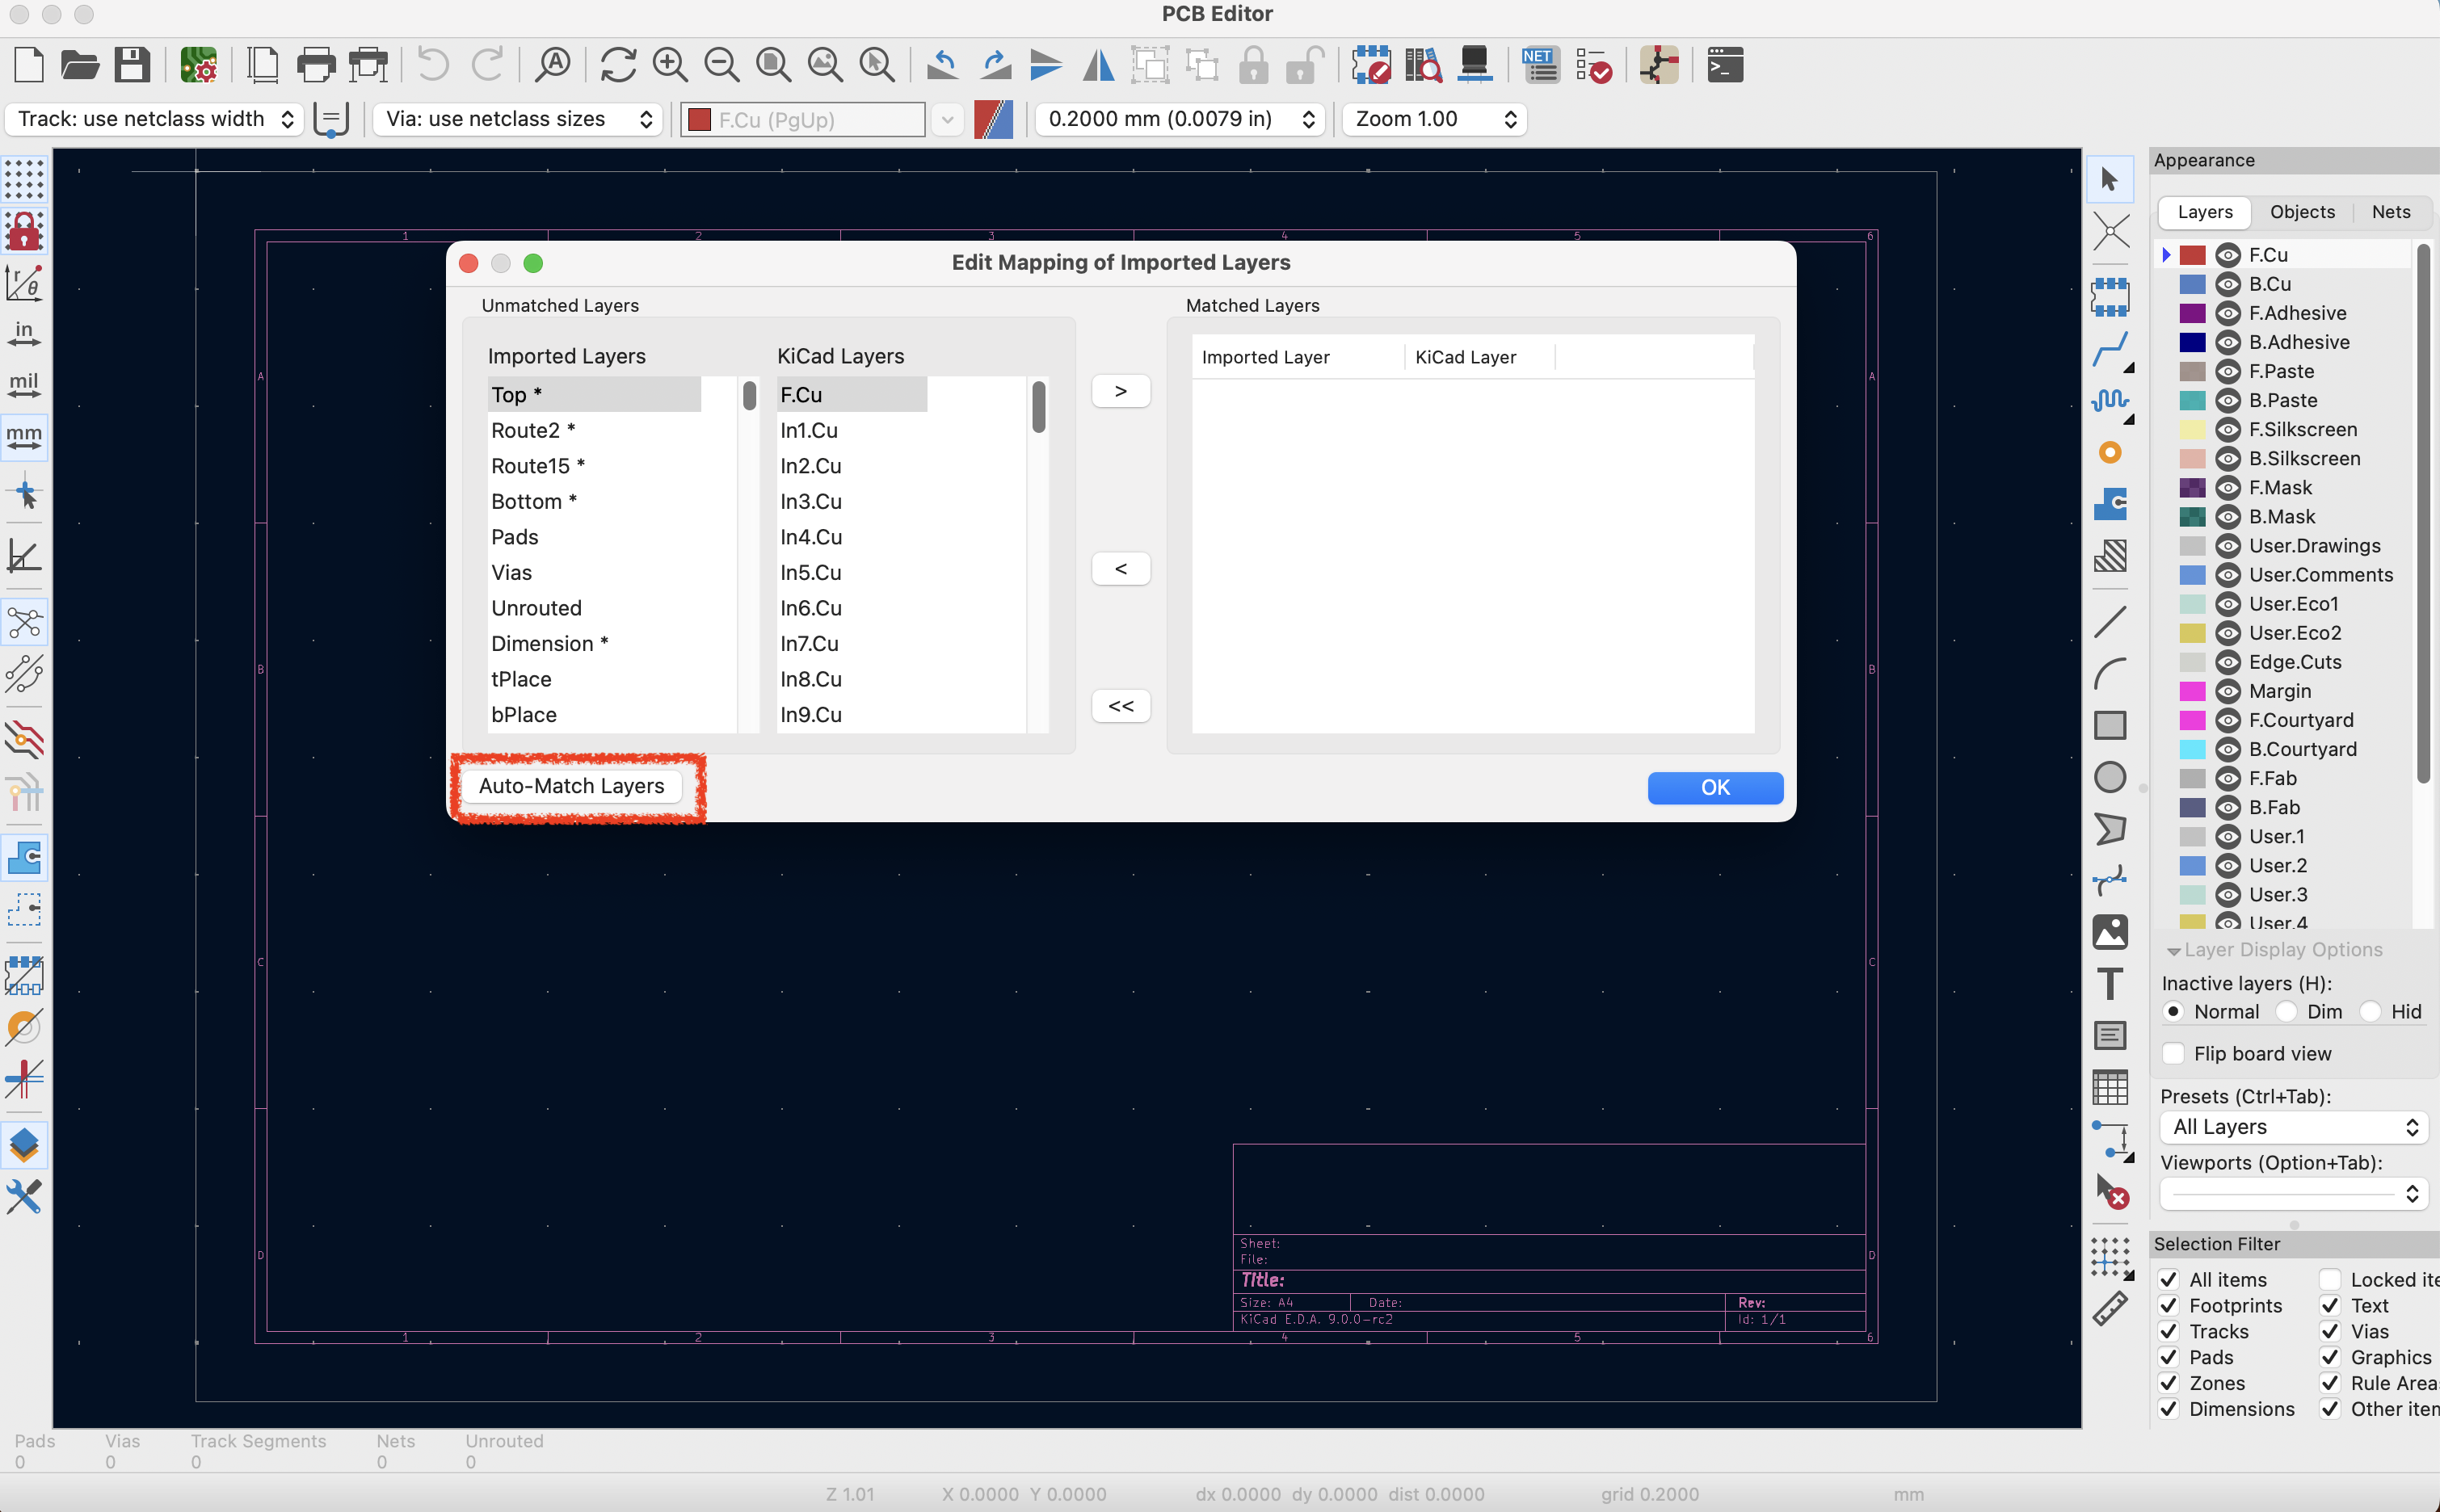
-
Information should now appear in the
Matched Layersbox. ClickOK.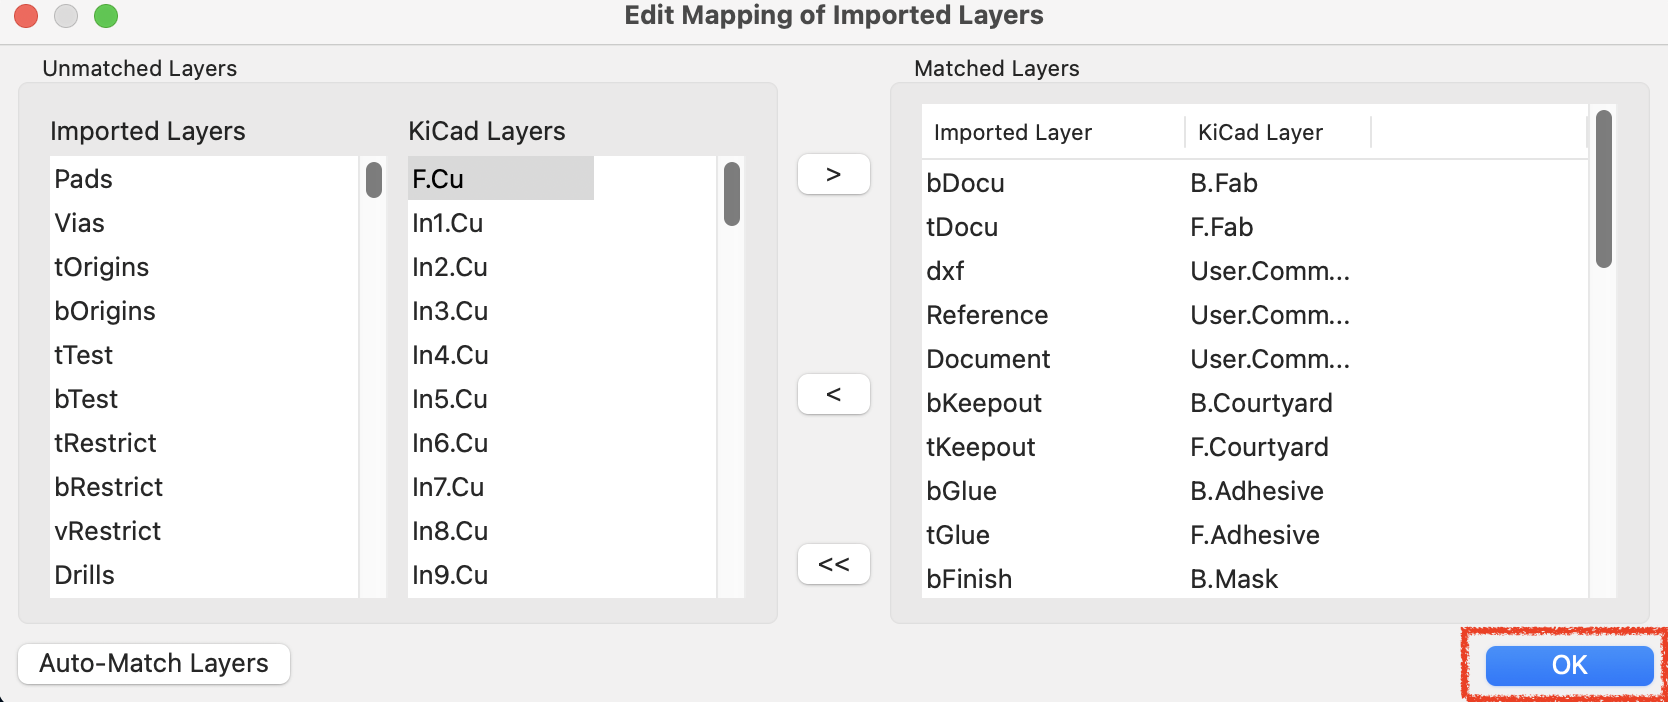
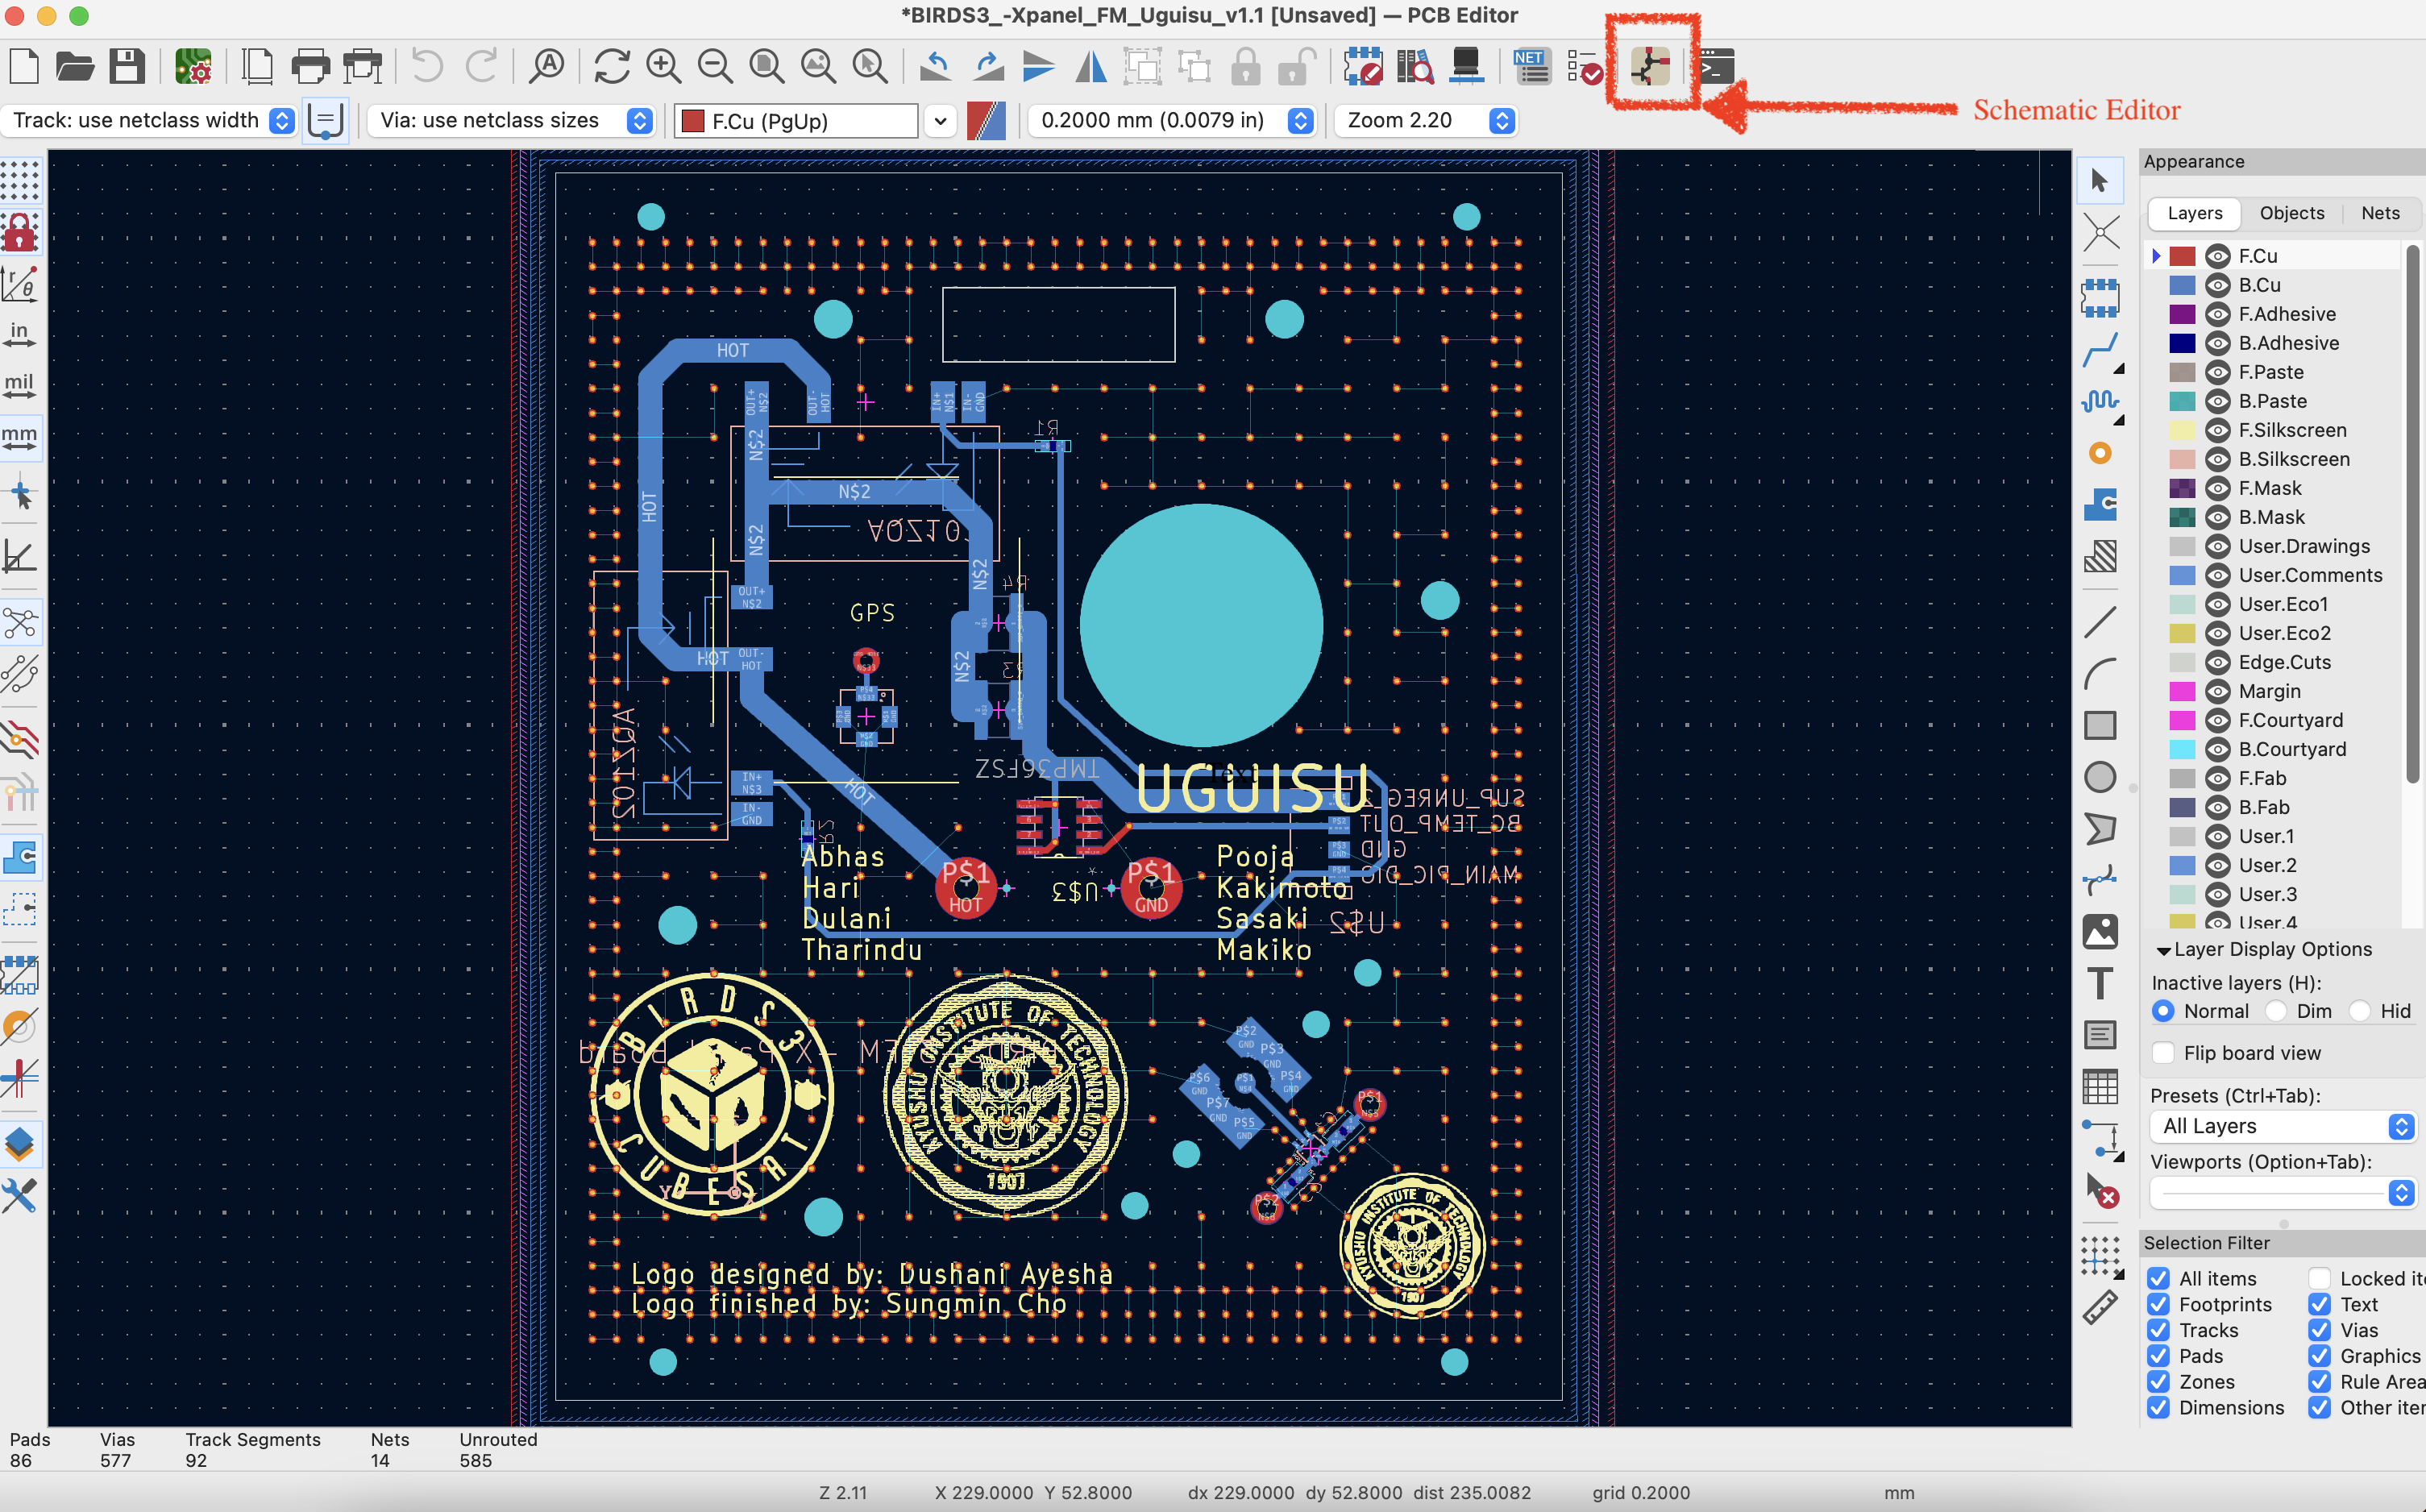
-
With the board design now open, open the schematic editor by clicking the icon
-
With the editor open, go to
File»Import»Non-Kicad Schematic.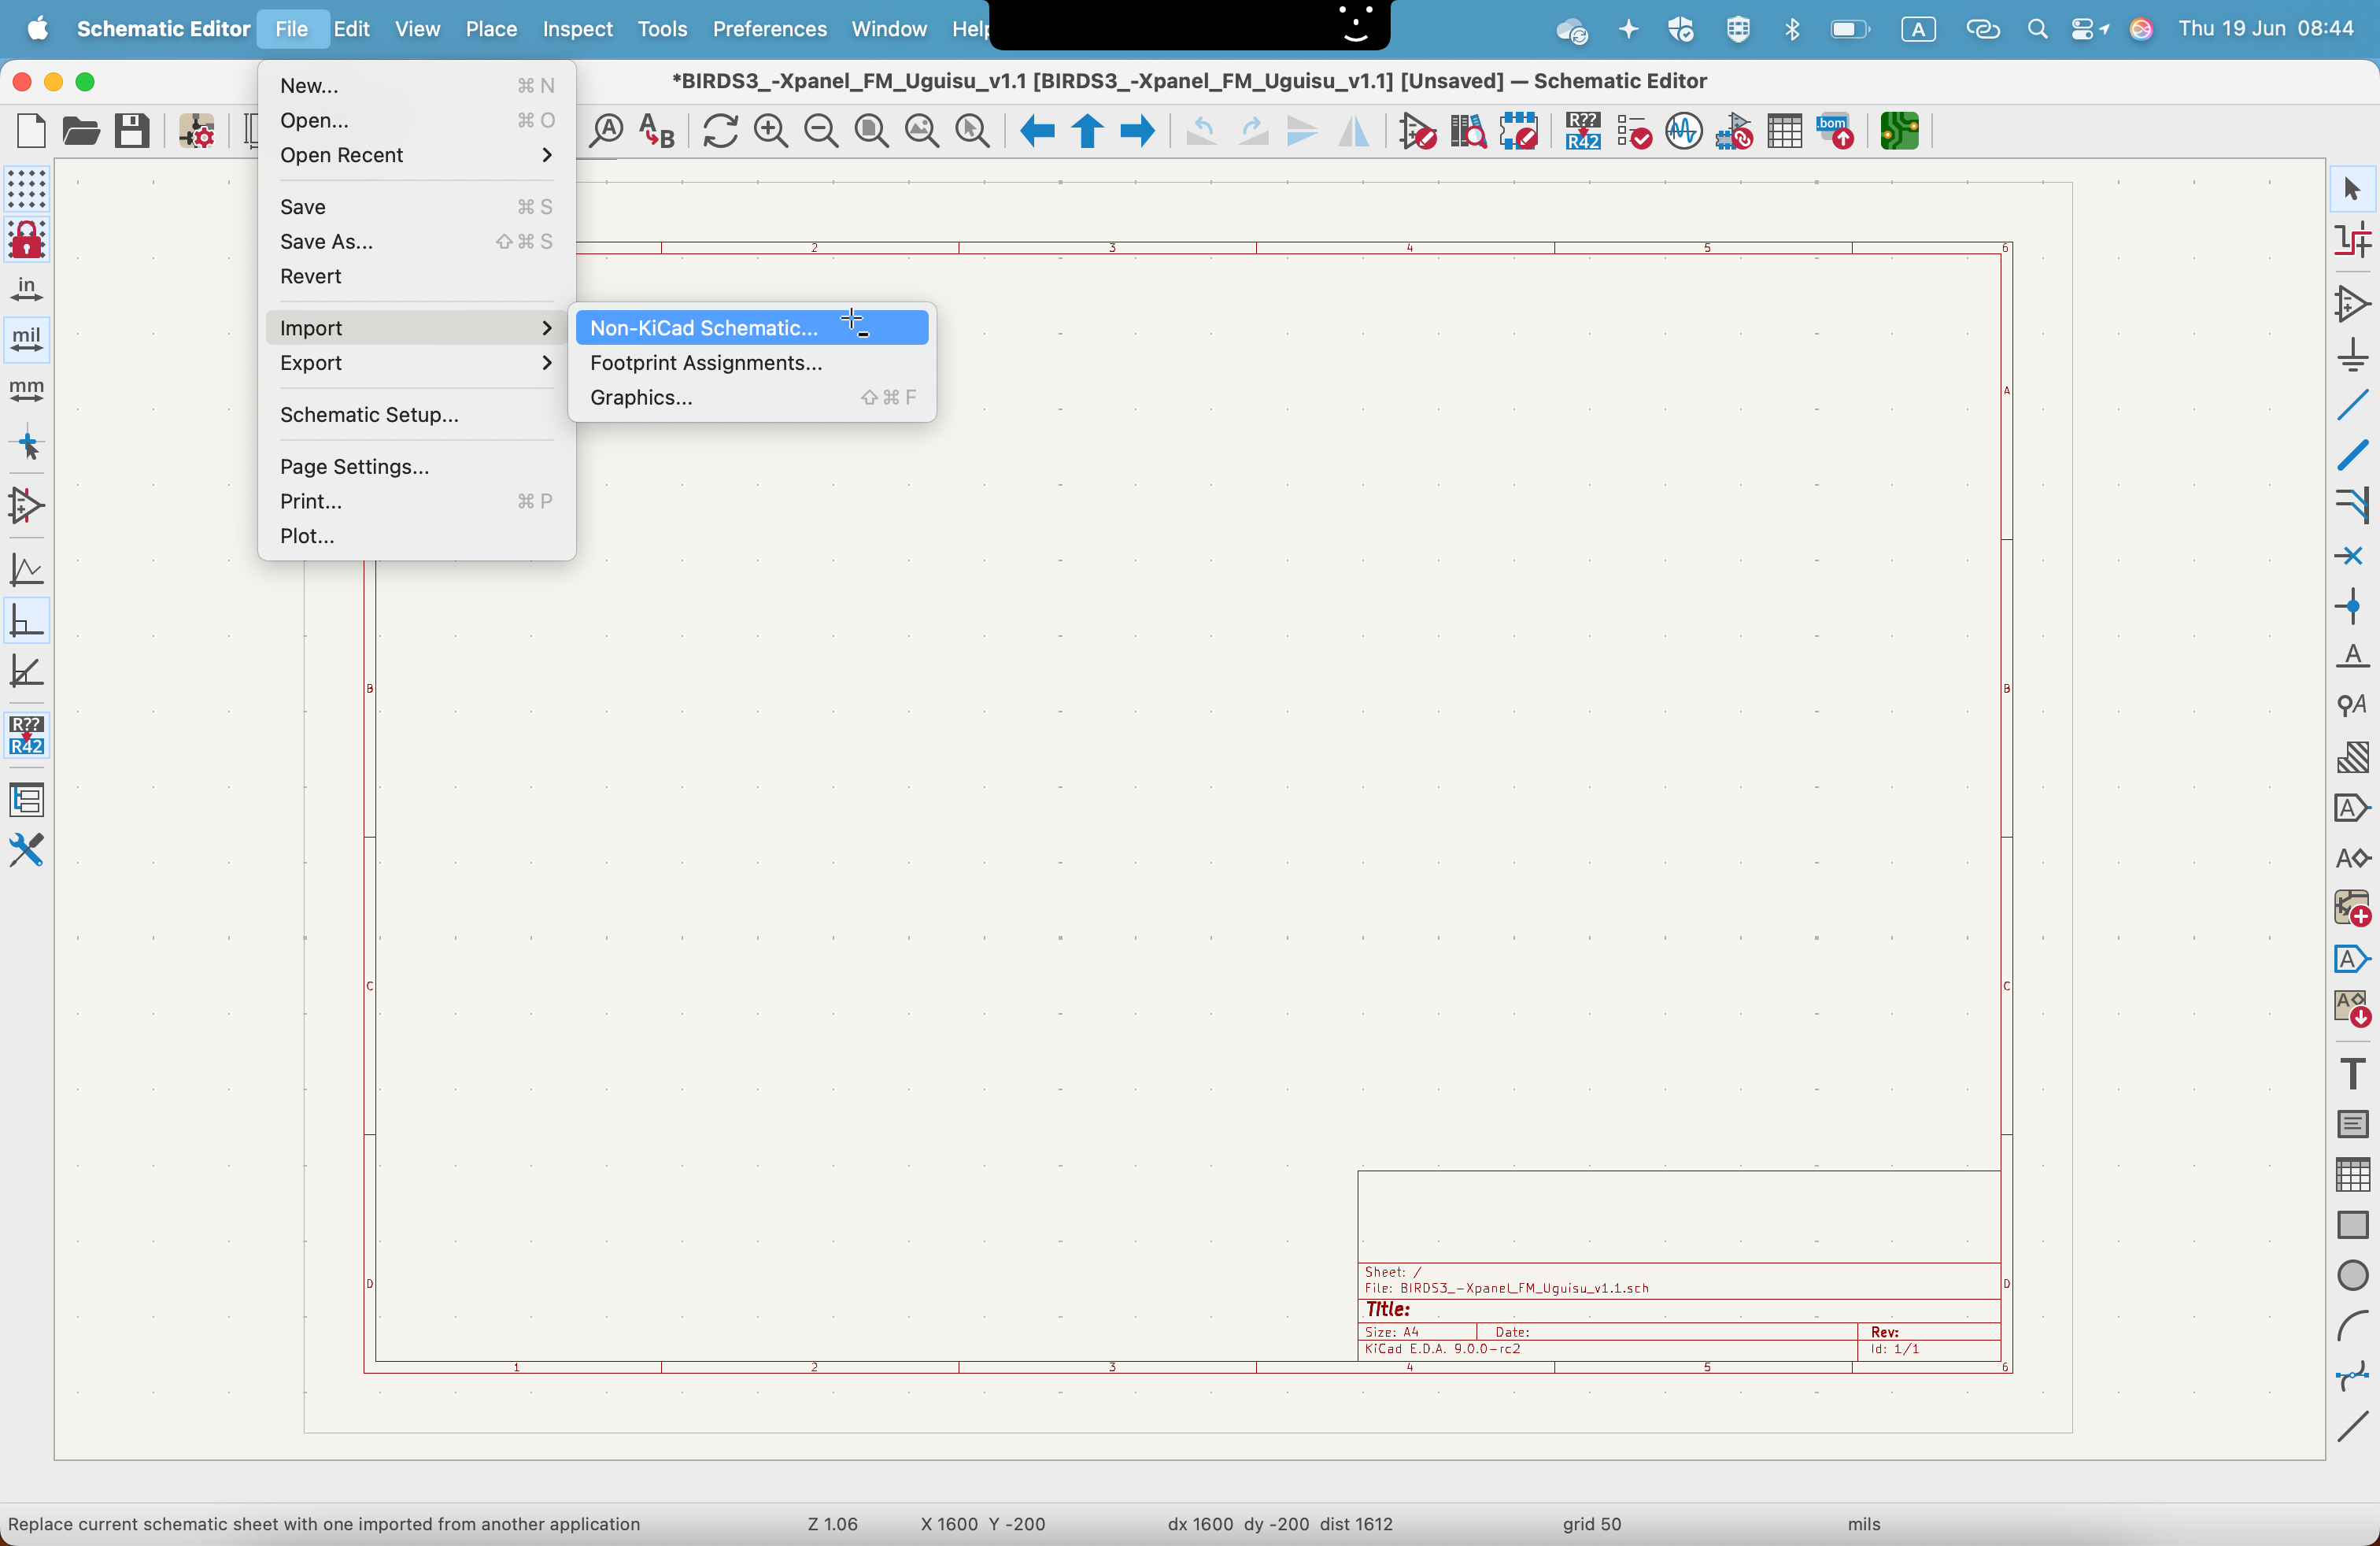
-
Locate the saved location of the
.schfile and clickOpen.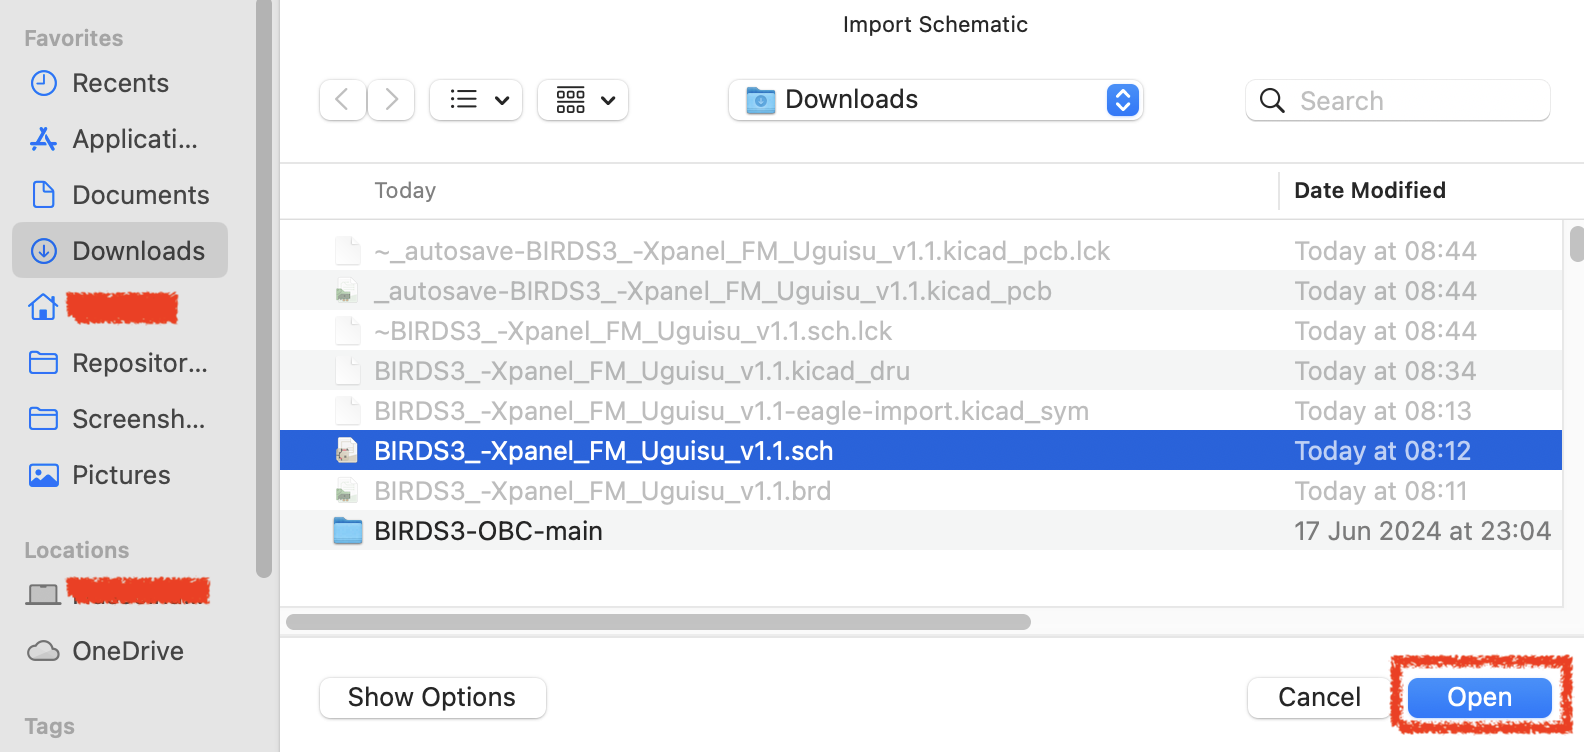
-
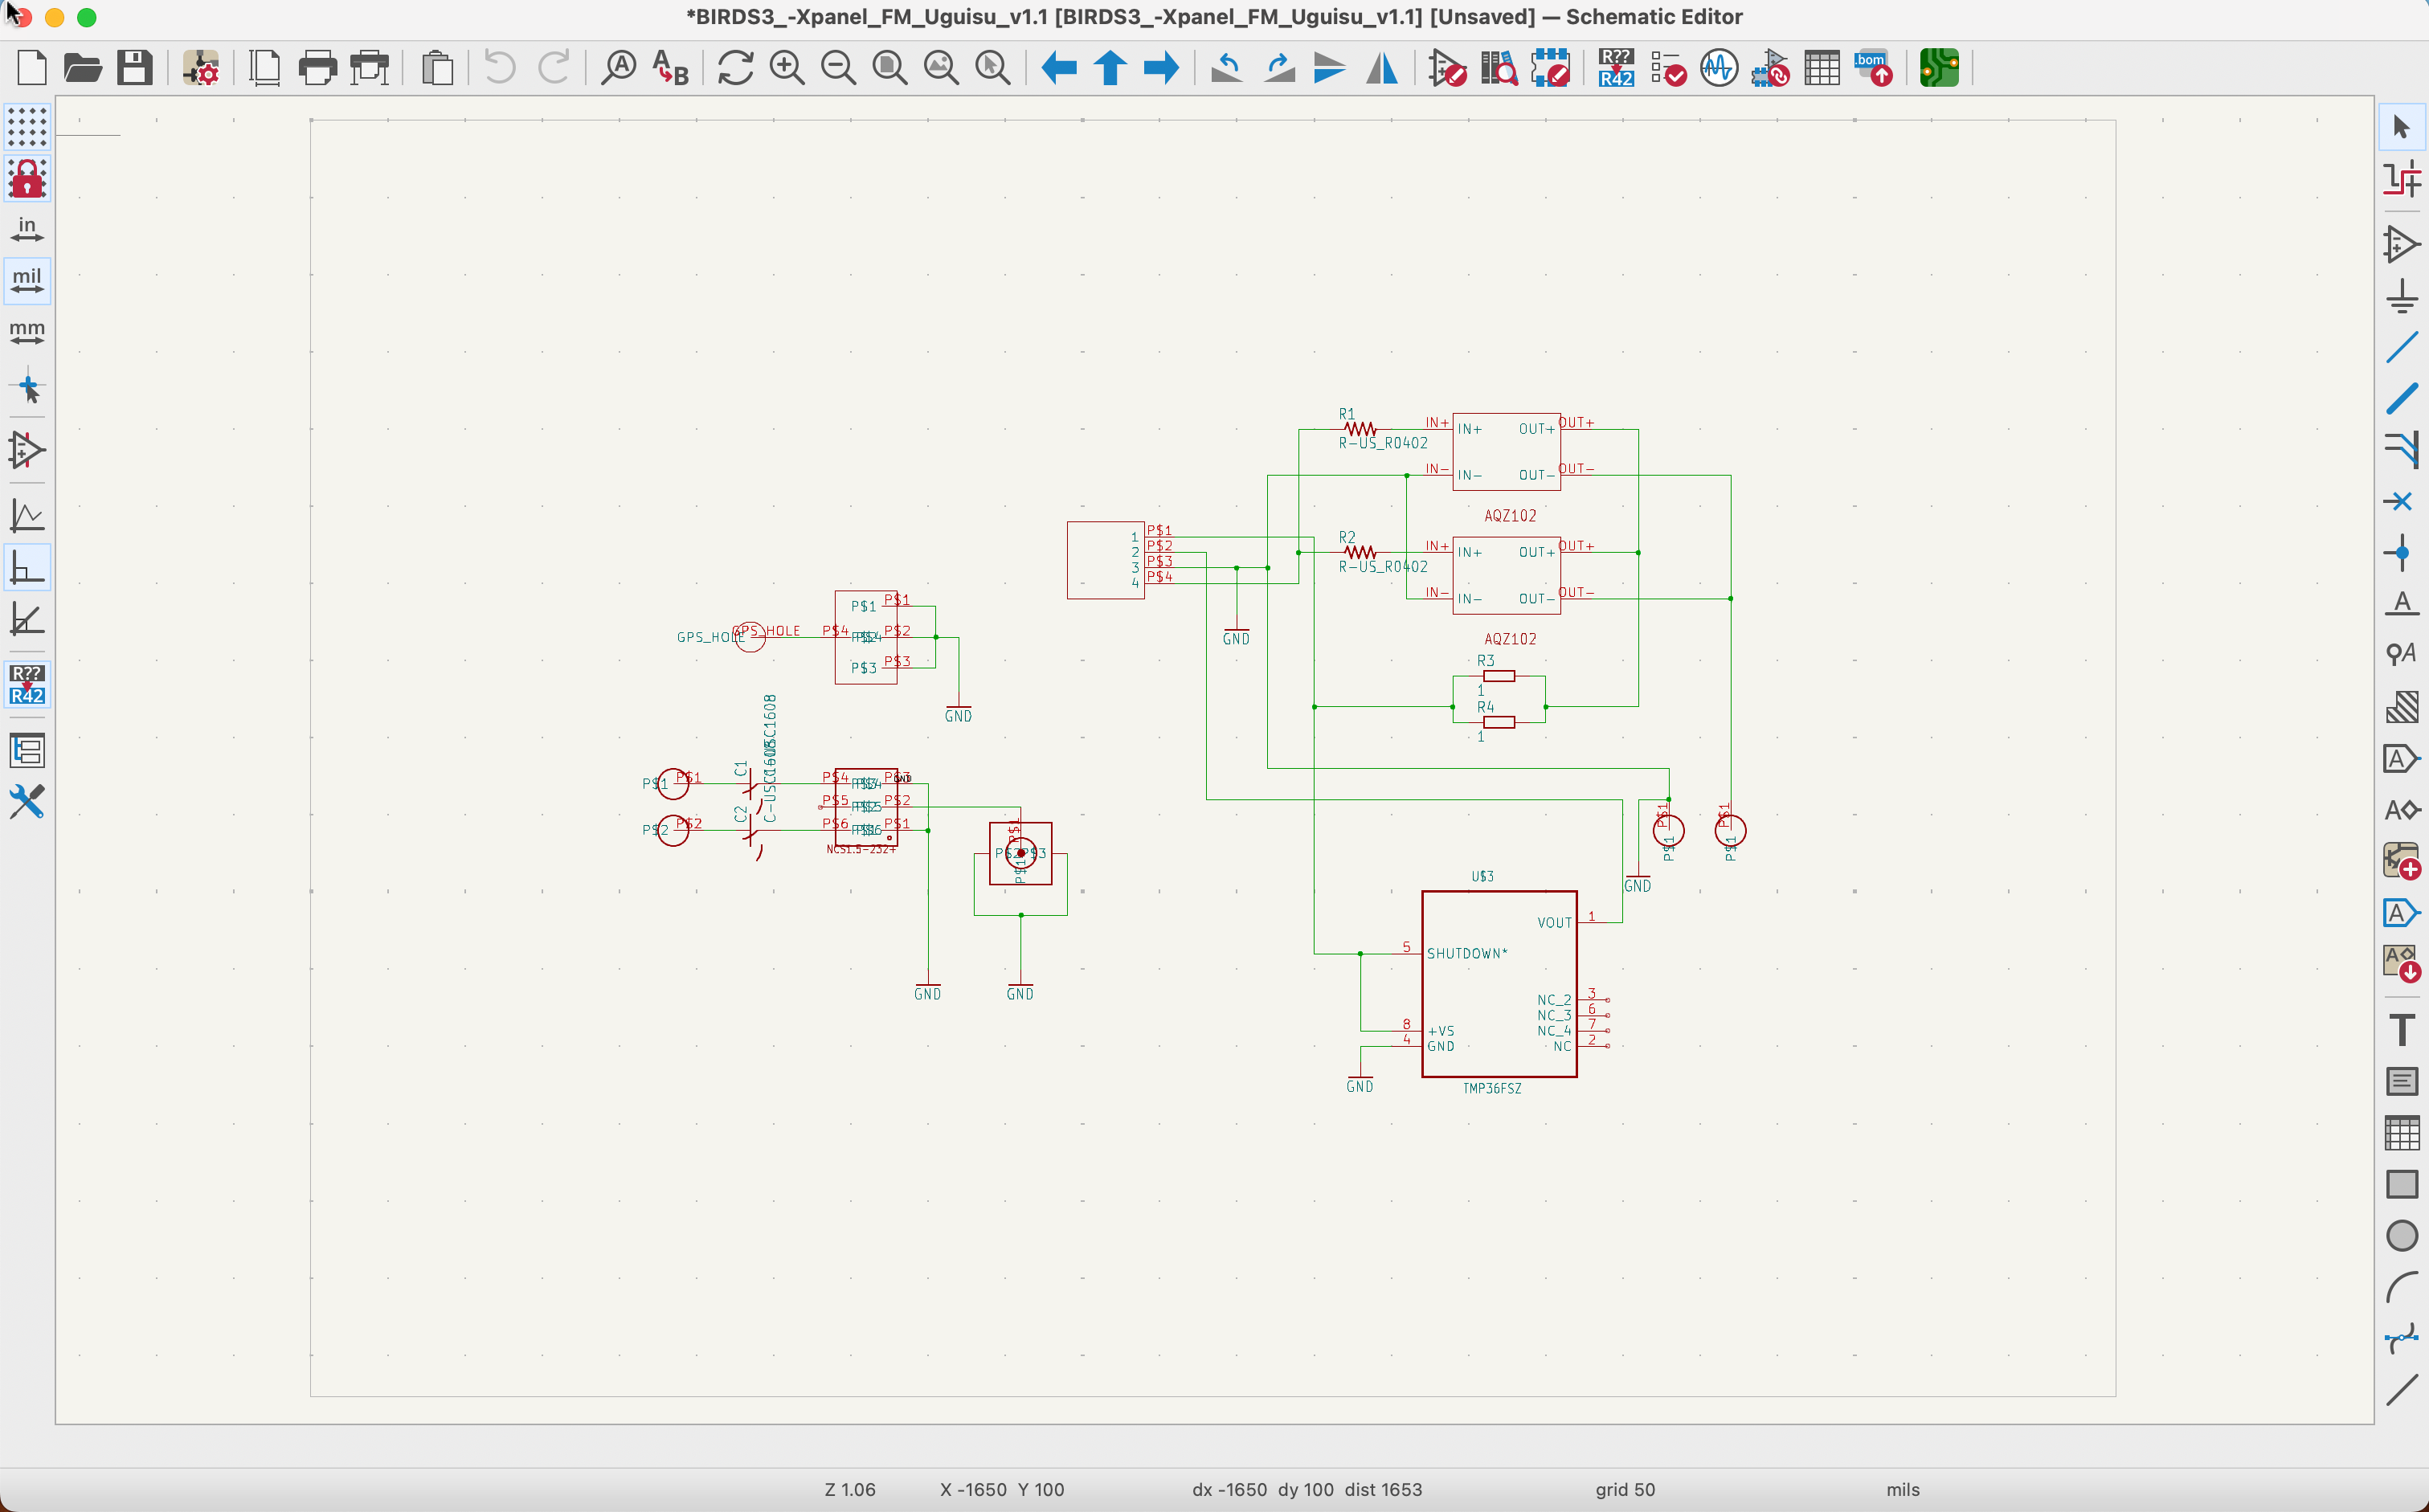
Now you can edit both files as you please.
 —
—
📌 Notes
- Make sure both
.schand.brdfiles are part of the same project to maintain the netlist connection. - Some library symbols or footprints may need to be re-linked if they’re missing from your local KiCad libraries.
- You can manually link or replace missing components using Preferences → Manage Symbol Libraries or Manage Footprint Libraries.
💡 Tips
- Use the “Highlight Net” tool to trace signals and check connections
- Use “Design Rules Check (DRC)” to verify board integrity
- To generate Gerber files: File → Plot
🆘 Troubleshooting
- Missing Pads or Symbols? — Ensure you’re using the correct library versions or import compatible formats.
- Board doesn’t load correctly? — Try importing as Eagle files or contact the original contributor for supported versions.
- Want to contribute a KiCad-native version? — See our Open Hardware Repo
📬 Still need help? Ask on our GitHub Discussions or join the Telegram group listed on our homepage.